
AI Chatbots for Busy Businesses
AI Chatbots for busy businesses

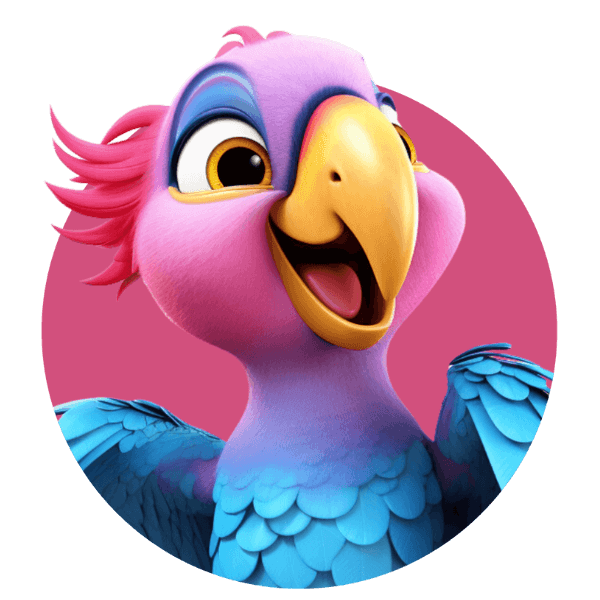
404
Whoops!
Looks like the parrot has flown the cage.
Deepest apologies for the mistake. Totally our bad!


Are you struggling to keep up with customer communication?
Talky can help you to...

Manage Your Conversations
Take control of your touch points and bring all customer conversations together.

Manage Your Customers
Organise your prospects and clients with out inbuilt Customer Relationship Manager tool.

Manage Your Reputation
Read, request and reply to online reviews with our Reputation Management system.
You know how to run your business, but there’s a problem…
- Your lead flow is awesome but you're still missing new business opportunities because you're just too busy to respond to everyone.
- You’re stuck with a clunky old CRM that has features you don’t use, costs a fortune, and is very difficult to navigate.
- You’re sitting on a large customer database but you don’t know how to easily connect with them & stay top of mind.
- You know you need more online reviews but finding the time to reach out to your clients and follow up your requests doesn't fit with your busy schedule.
If you'd like to find out more about how Talky can help your business streamline it's customer communication and save you time...
Pricing
Talky Lite
- Email messaging enabled
- Customer Relationship (CRM) Tool
- Facebook Messenger Integration
- Google My Business Integration
- Instagram Page Integration*
- Whats App Integration (Coming December 2021)
- Customer Tag Management
- Internal Notes and Tasks
- Reputation Management Tool
£35
per month
*Please Note: Instagram integration only works for account with over 1000 followers. We are currently in conversation with Instagram to lower this number.
Talky Pro
- All the features of Talky Lite PLUS
- A Dedicated Talky Phone Number*
- Make Phone Calls From Inside Talky
- Two-way Text Messaging
- Inbound Call Redirect
- Call Recording Function
- Missed Call Auto Text Back
- Send Payment Requests via Text
- Free Contact Migration Service
£70
per month
*Please Note: Additional charges for text and phone apply.
Price may vary slightly depending on your region. As a guide:
Send Text Message: $ 0.0400 / sms
Receive Text Message: $ 0.0075 / sms
Making Calls: $ 0.0195 / min
Receiving Calls: $ 0.0128 / min
NO OBLIGATIONS, NO CONTRACTS, CANCEL AT ANY TIME.
NO OBLIGATIONS,
NO CONTRACTS,
CANCEL AT ANY TIME.